Participant User Guide
To get started using Lavender, ask your provider to create an account for you!
Accepting an account
If your provider has communicated that they’ve created an account for you, check your email inbox for an email from noreply@lavender-sleep.web.app.
Note that accepting an account and choosing to enter sleep and activity information that you consent to having the information you enter being viewable by the provider who created your account, as well as the administrators of Lavender itself. For more information, contact us.
Getting started
Now that you have an account, it’s easy to log in! Navigate to lavender-sleep.web.app from any modern browser on the device of your choice and click the “Log In” button. Enter your email and the password you set earlier.
Lavender syncs across devices, so it’s possible to log in anywhere you have a browser - whether it’s a computer, tablet, or phone!
Getting around
Logging in will take you to the home screen, which looks like this:
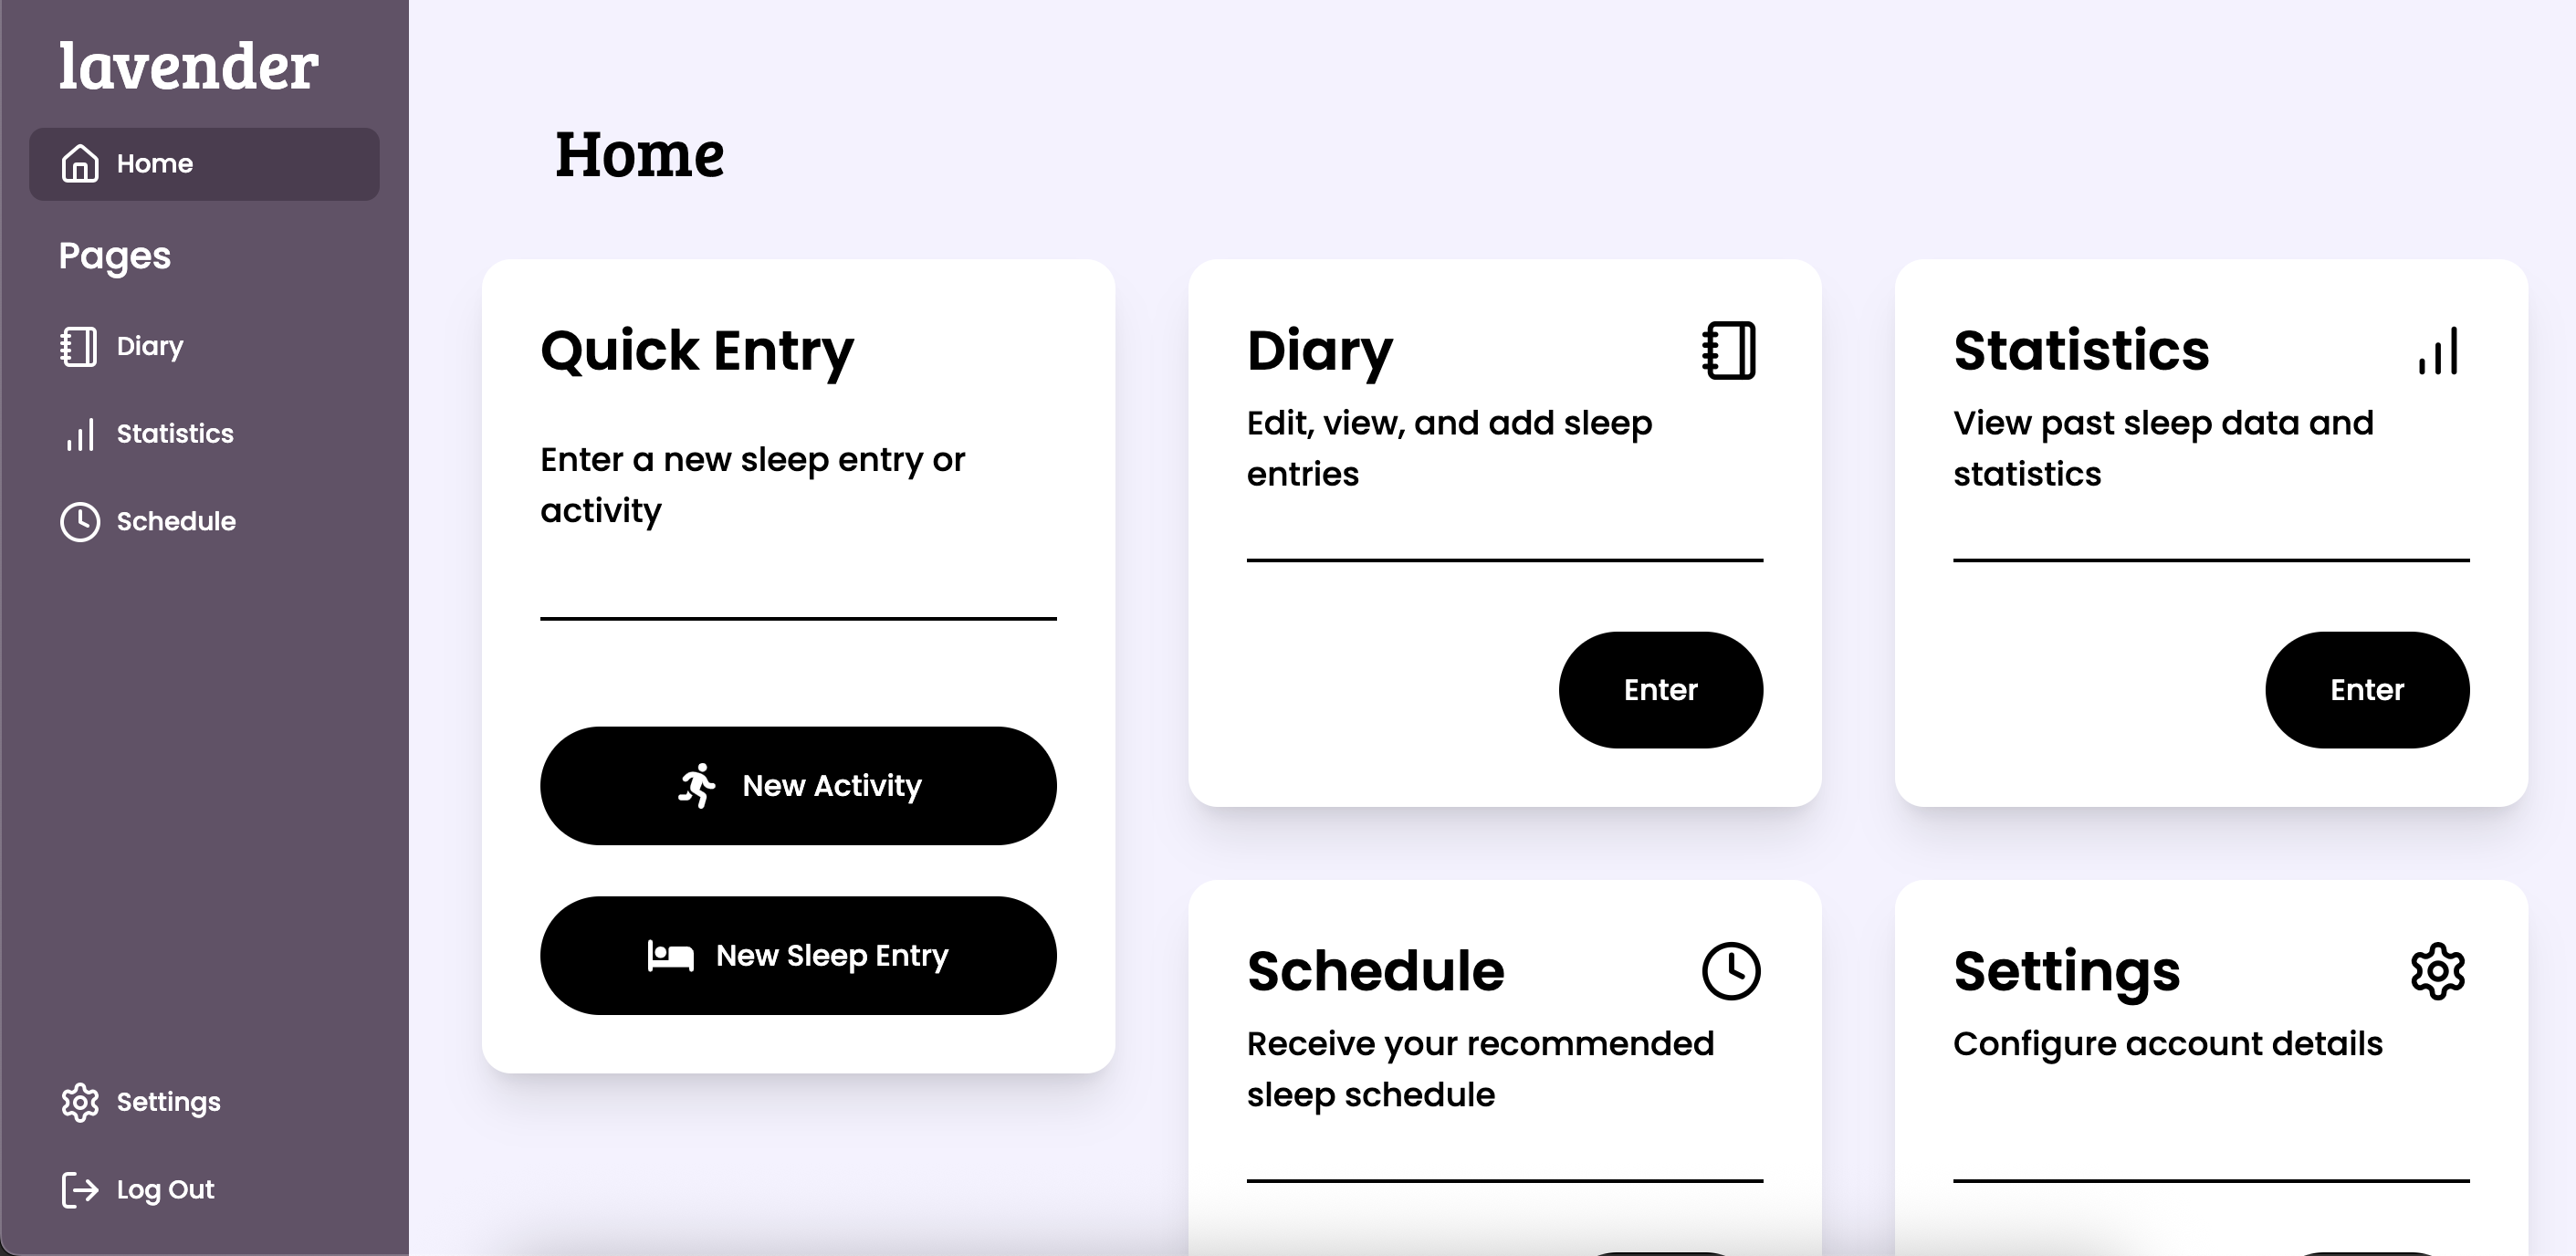
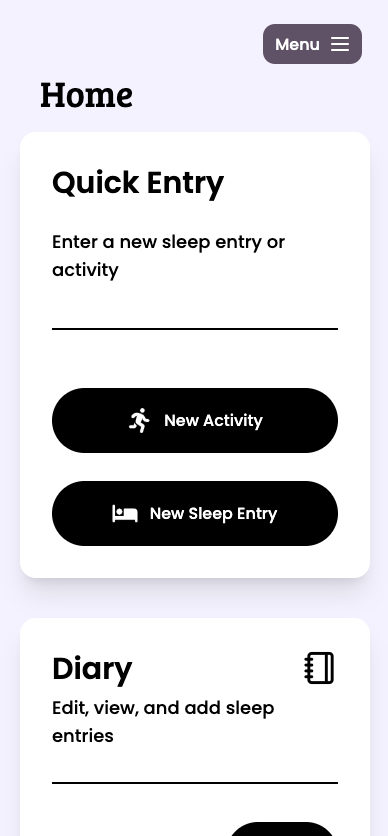
The buttons in the center give quick access to the main app features. The sidebar also allows you to navigate to the Diary, Statistics, and Schedule pages.
Creating sleep entries
The fastest way to record information about a period of sleep is directly from the homepage - press the “New Sleep Entry” button in the “Quick Entry” area to get started.
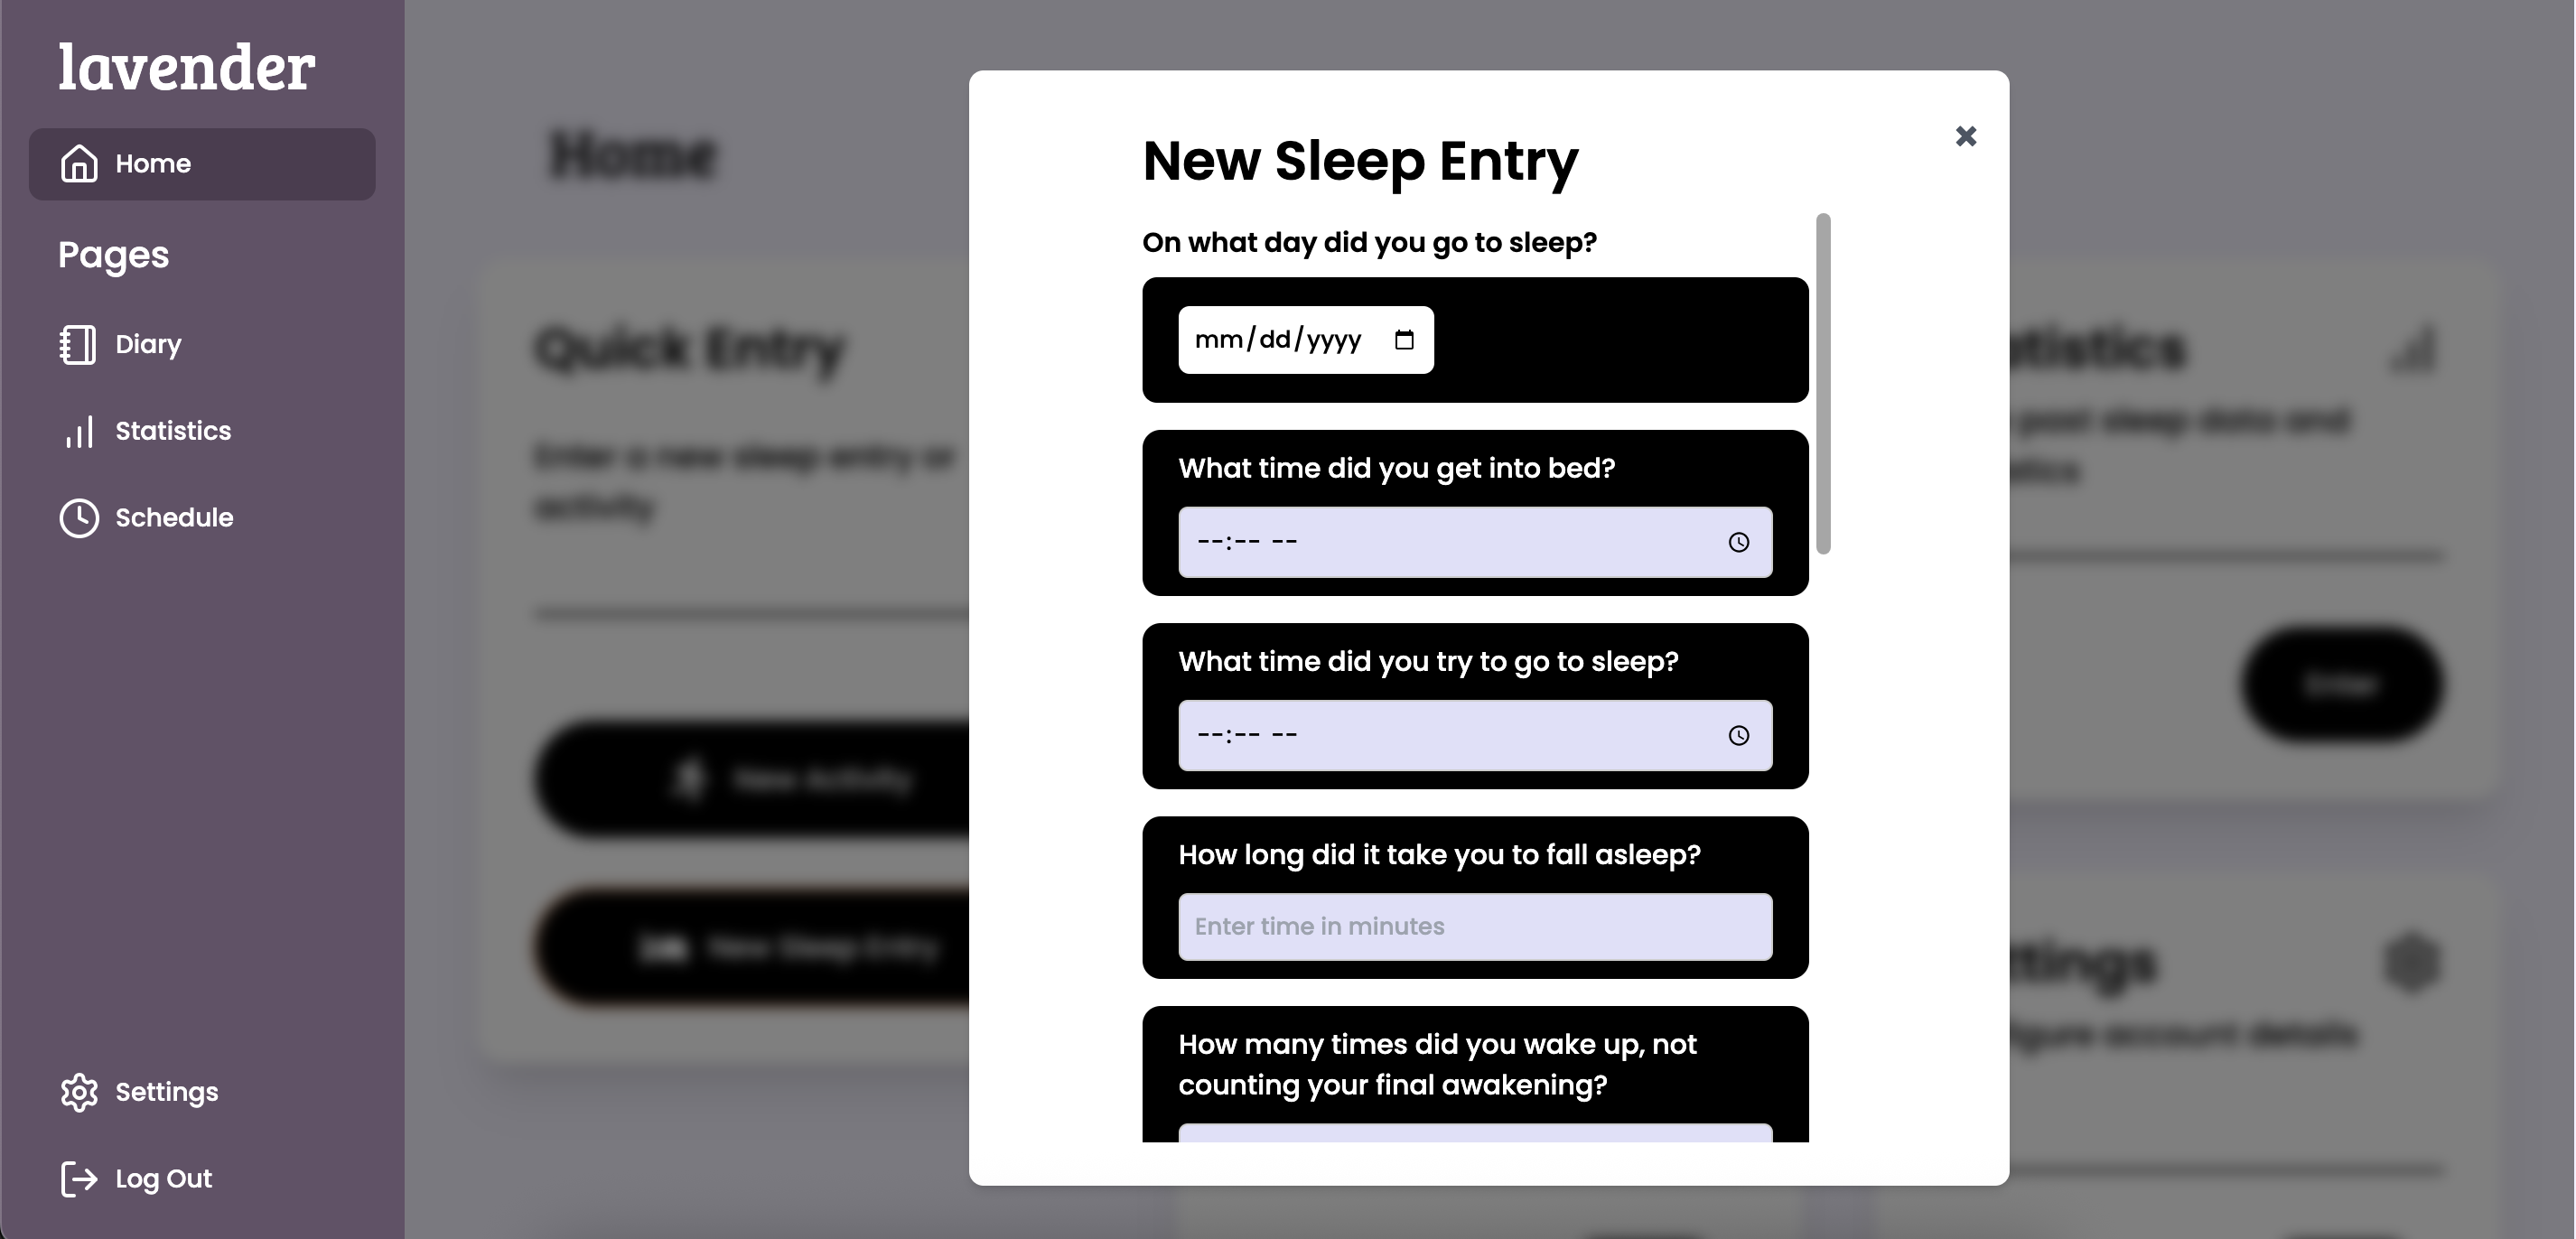
Fill in the fields with information about the sleep session and press “Submit” once you’re happy with the information.
Viewing, editing, and deleting sleep entries
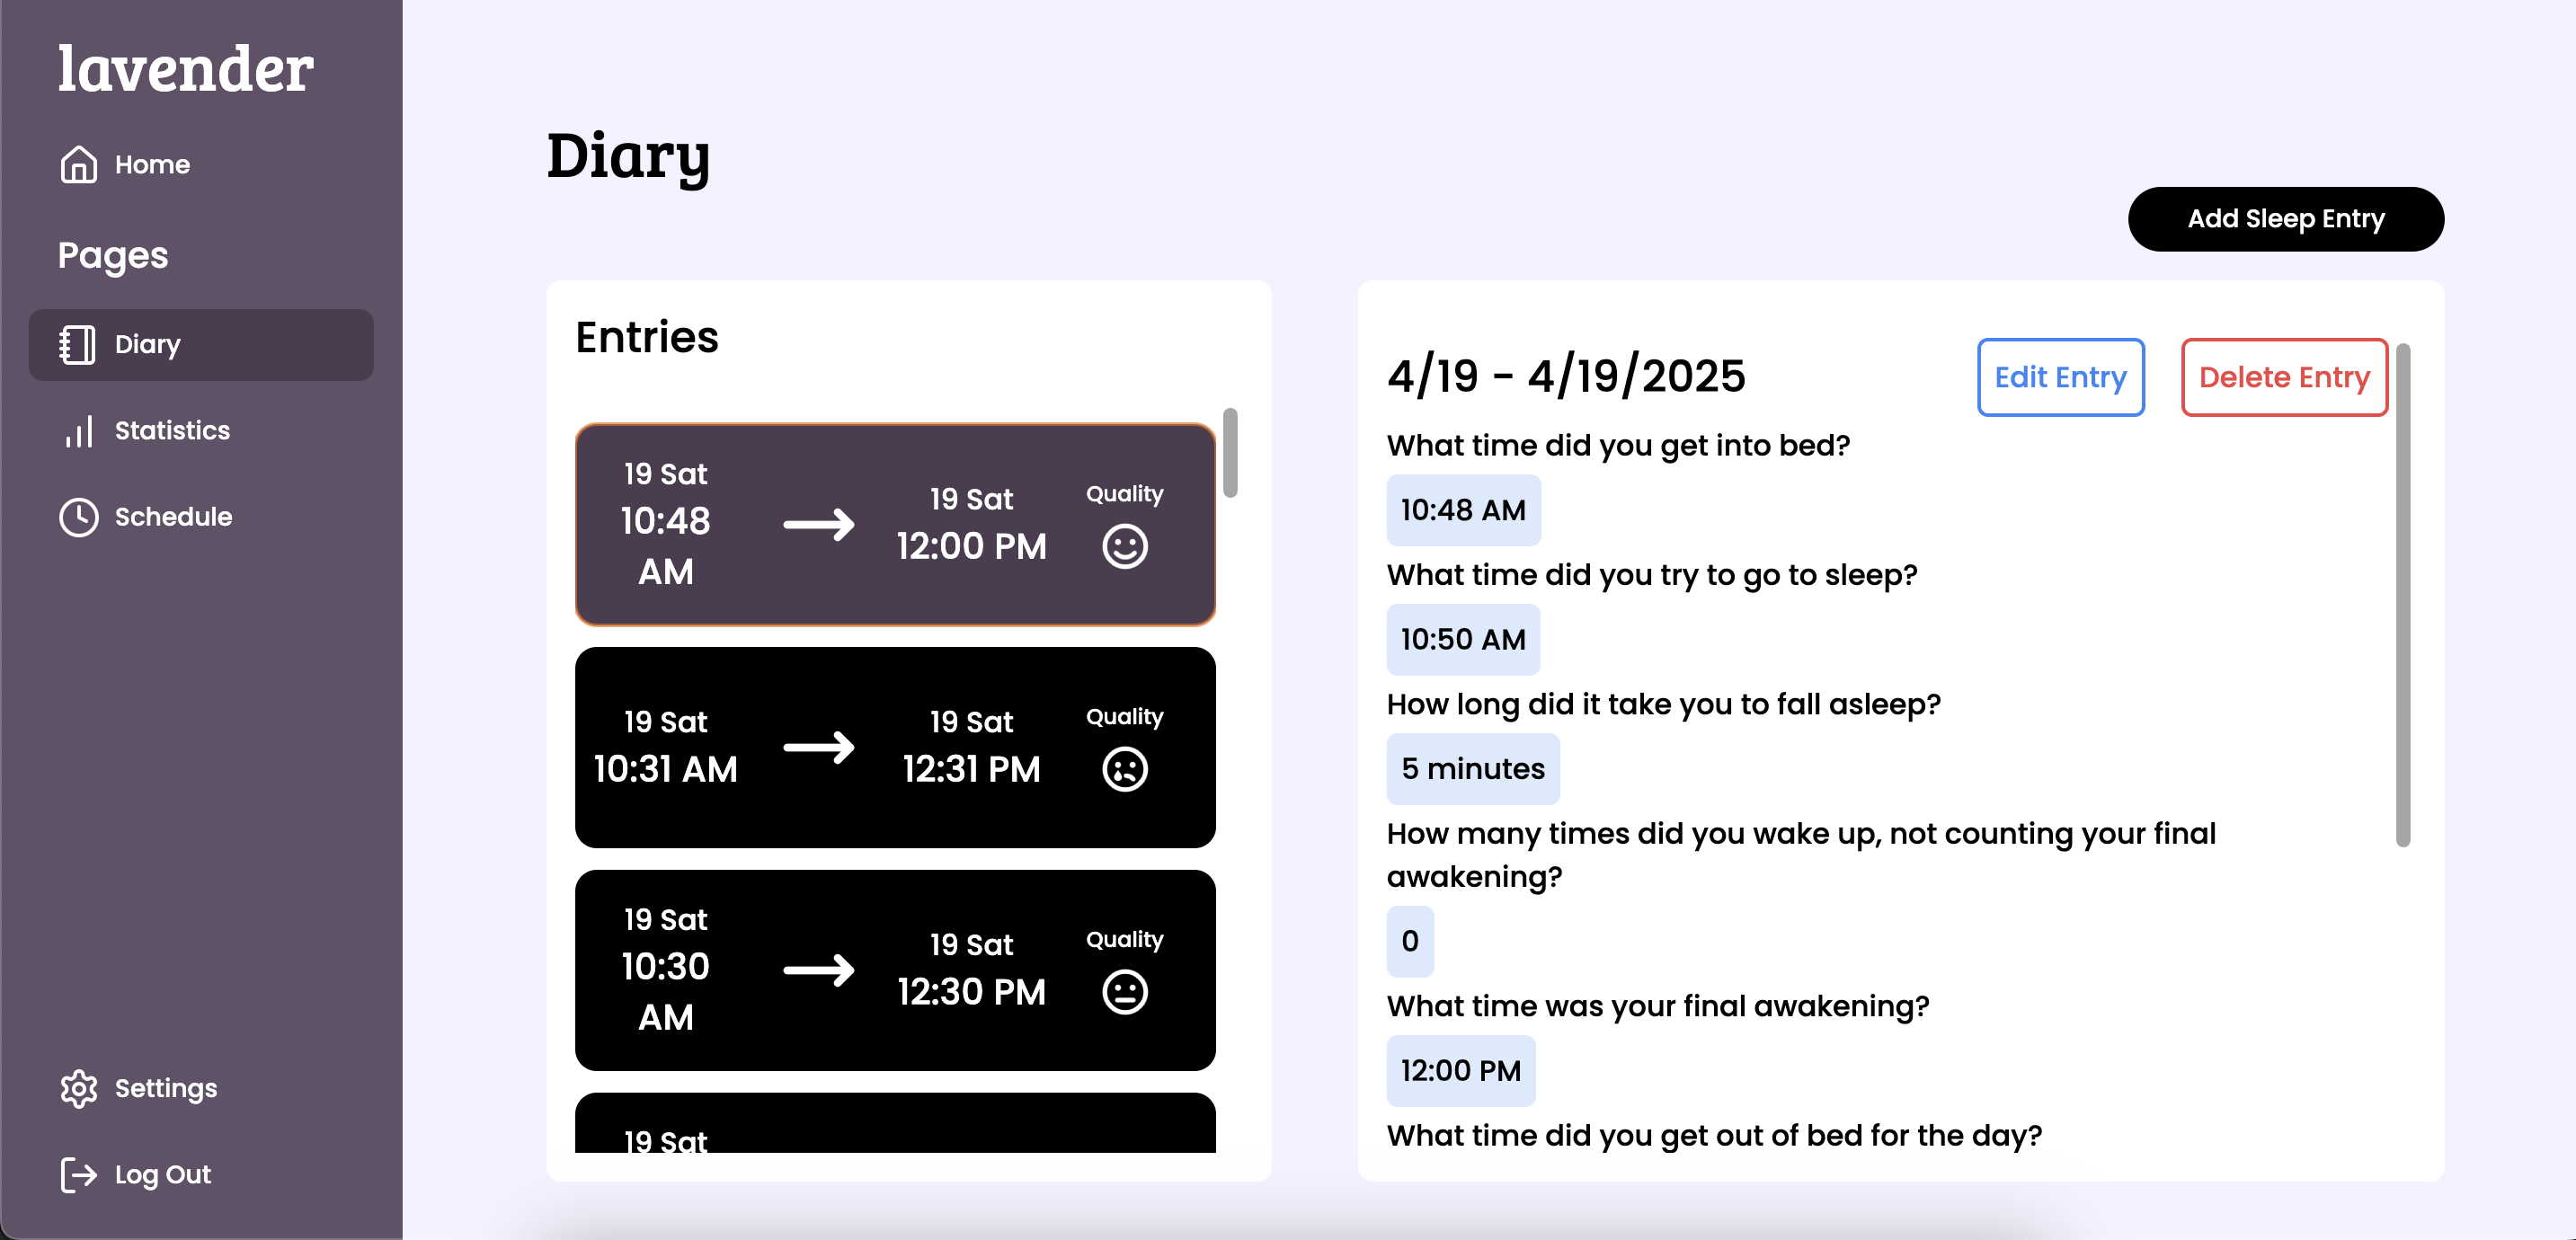
To view your saved sleep entries, select the “Diary” tab in the left sidebar.
The Diary features a list of all saved sleep entries.
Select an item in the list to view details on that sleep entry.
To edit or delete a sleep entry, use the designated buttons in the upper right of a selected sleep entry.
New sleep entries can also be created from the Diary page, using the button in the upper right of the page.
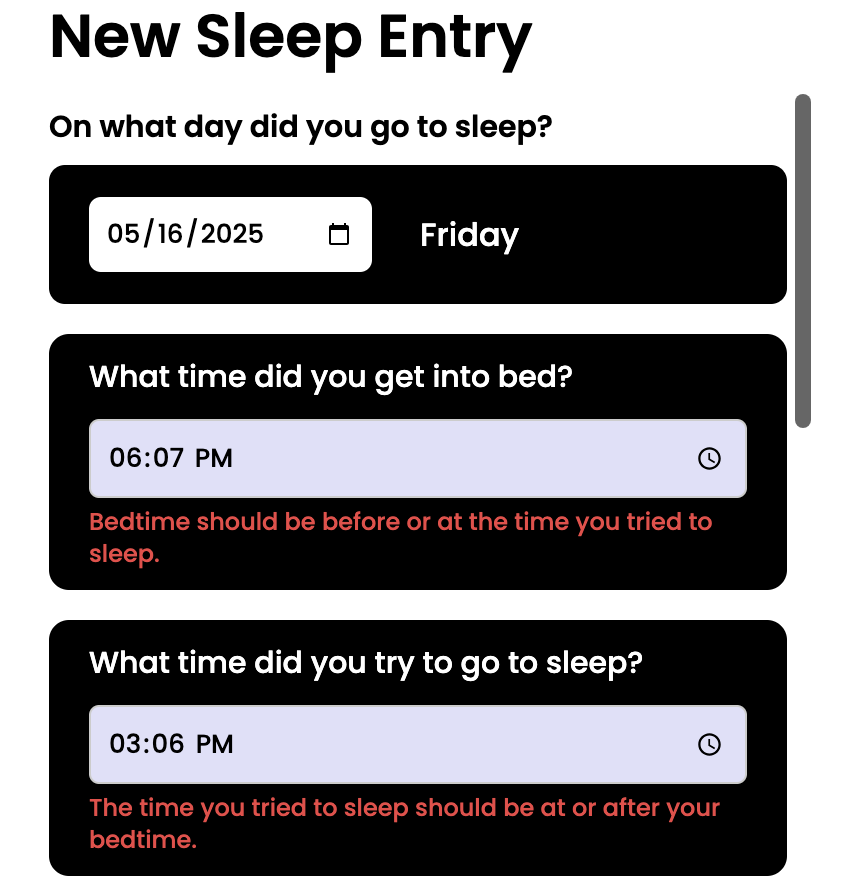
I can’t submit my sleep entry!
Double check that all the information you entered is correct!
When creating a new entry, possible problems with the entered information will be shown in red text below the field:
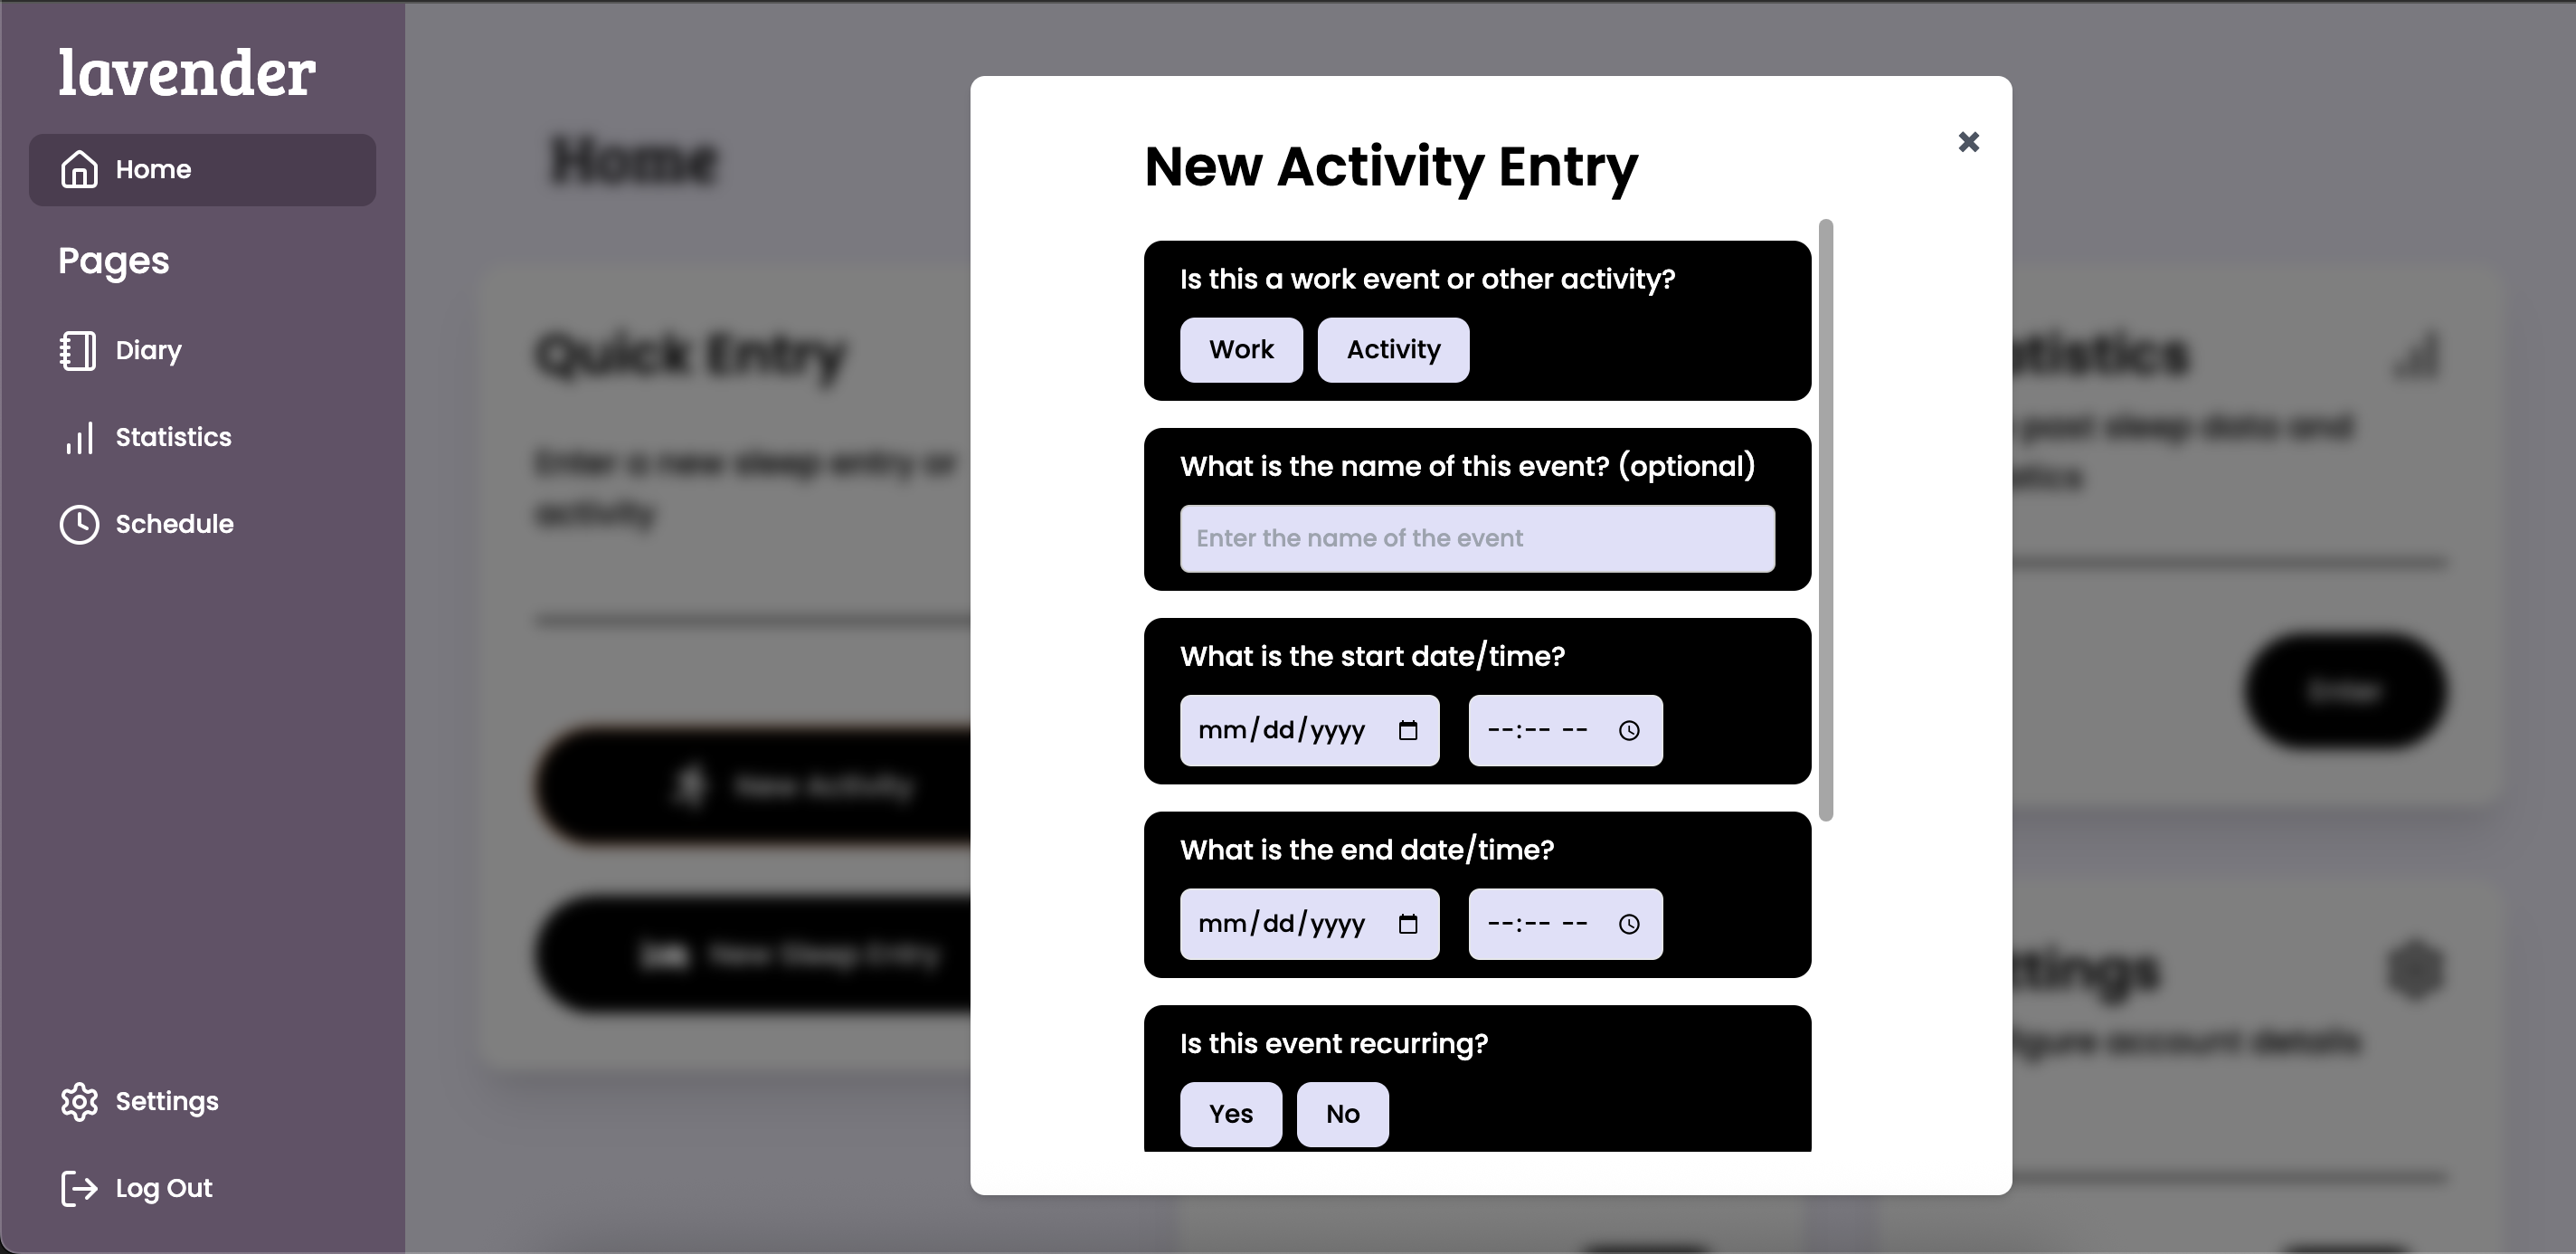
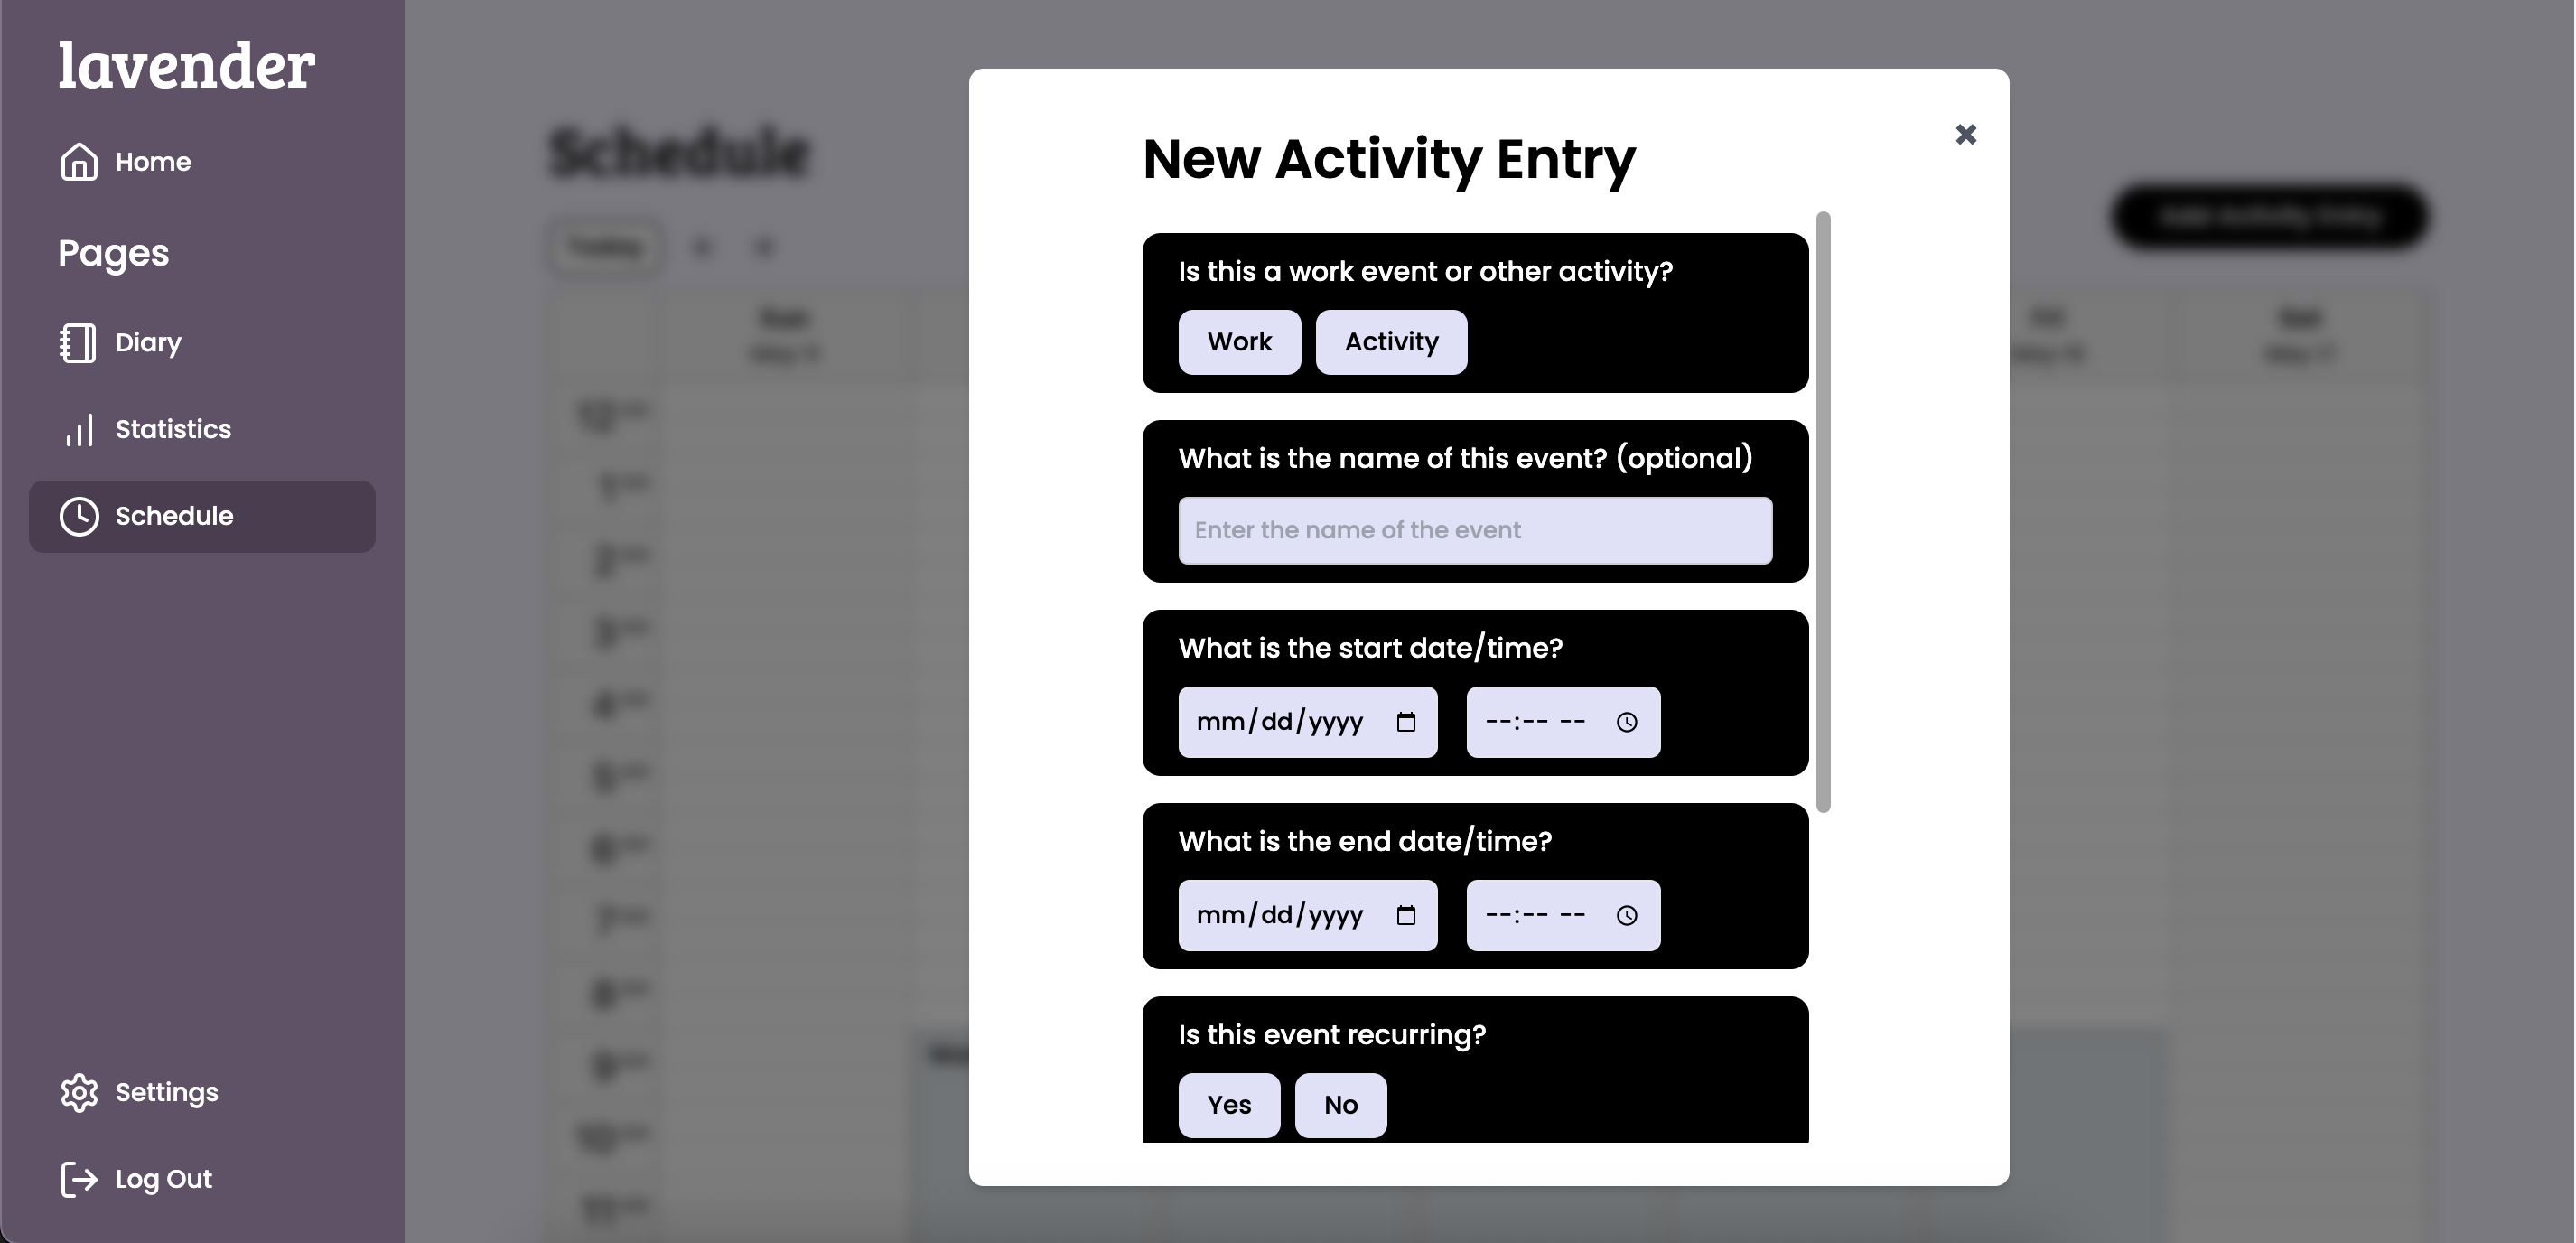
Creating work/activity entries
Recording your work schedule and information about other activities is similar to creating sleep entries. The “New Activity” button on the home screen and the “Add Activity Entry” button in the upper right of the “Schedule” page both allow you to create new activity entries.
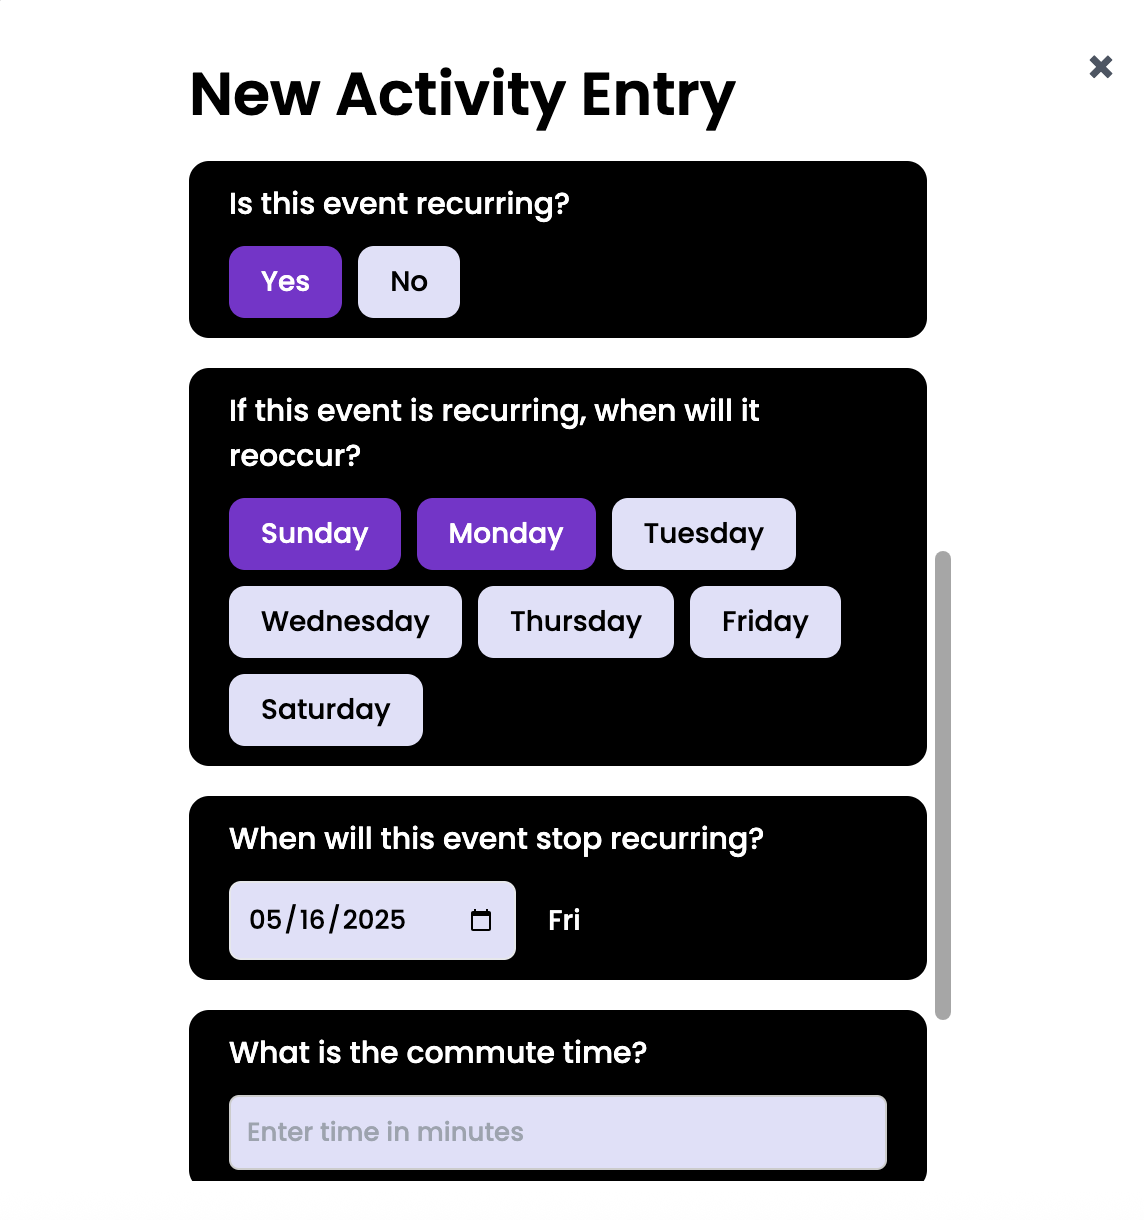
Recurring activities
Activity entries can be set to automatically reoccur every week. Choose the days of the week that the activity happens. For the “start date/time” and “end date/time”, enter the times as they are the very first time that the activity happens.
Then enter the start date of the last time the activity happens in the field indicating when the event stops recurring.
Viewing, editing, and deleting activites
Saved activity entries can be viewed in the Schedule page accessible from the sidebar. Gray boxes represent work shifts, purple boxes represent other activities/events, green boxes represent sleep entries, and red boxes represent recommended sleep times.
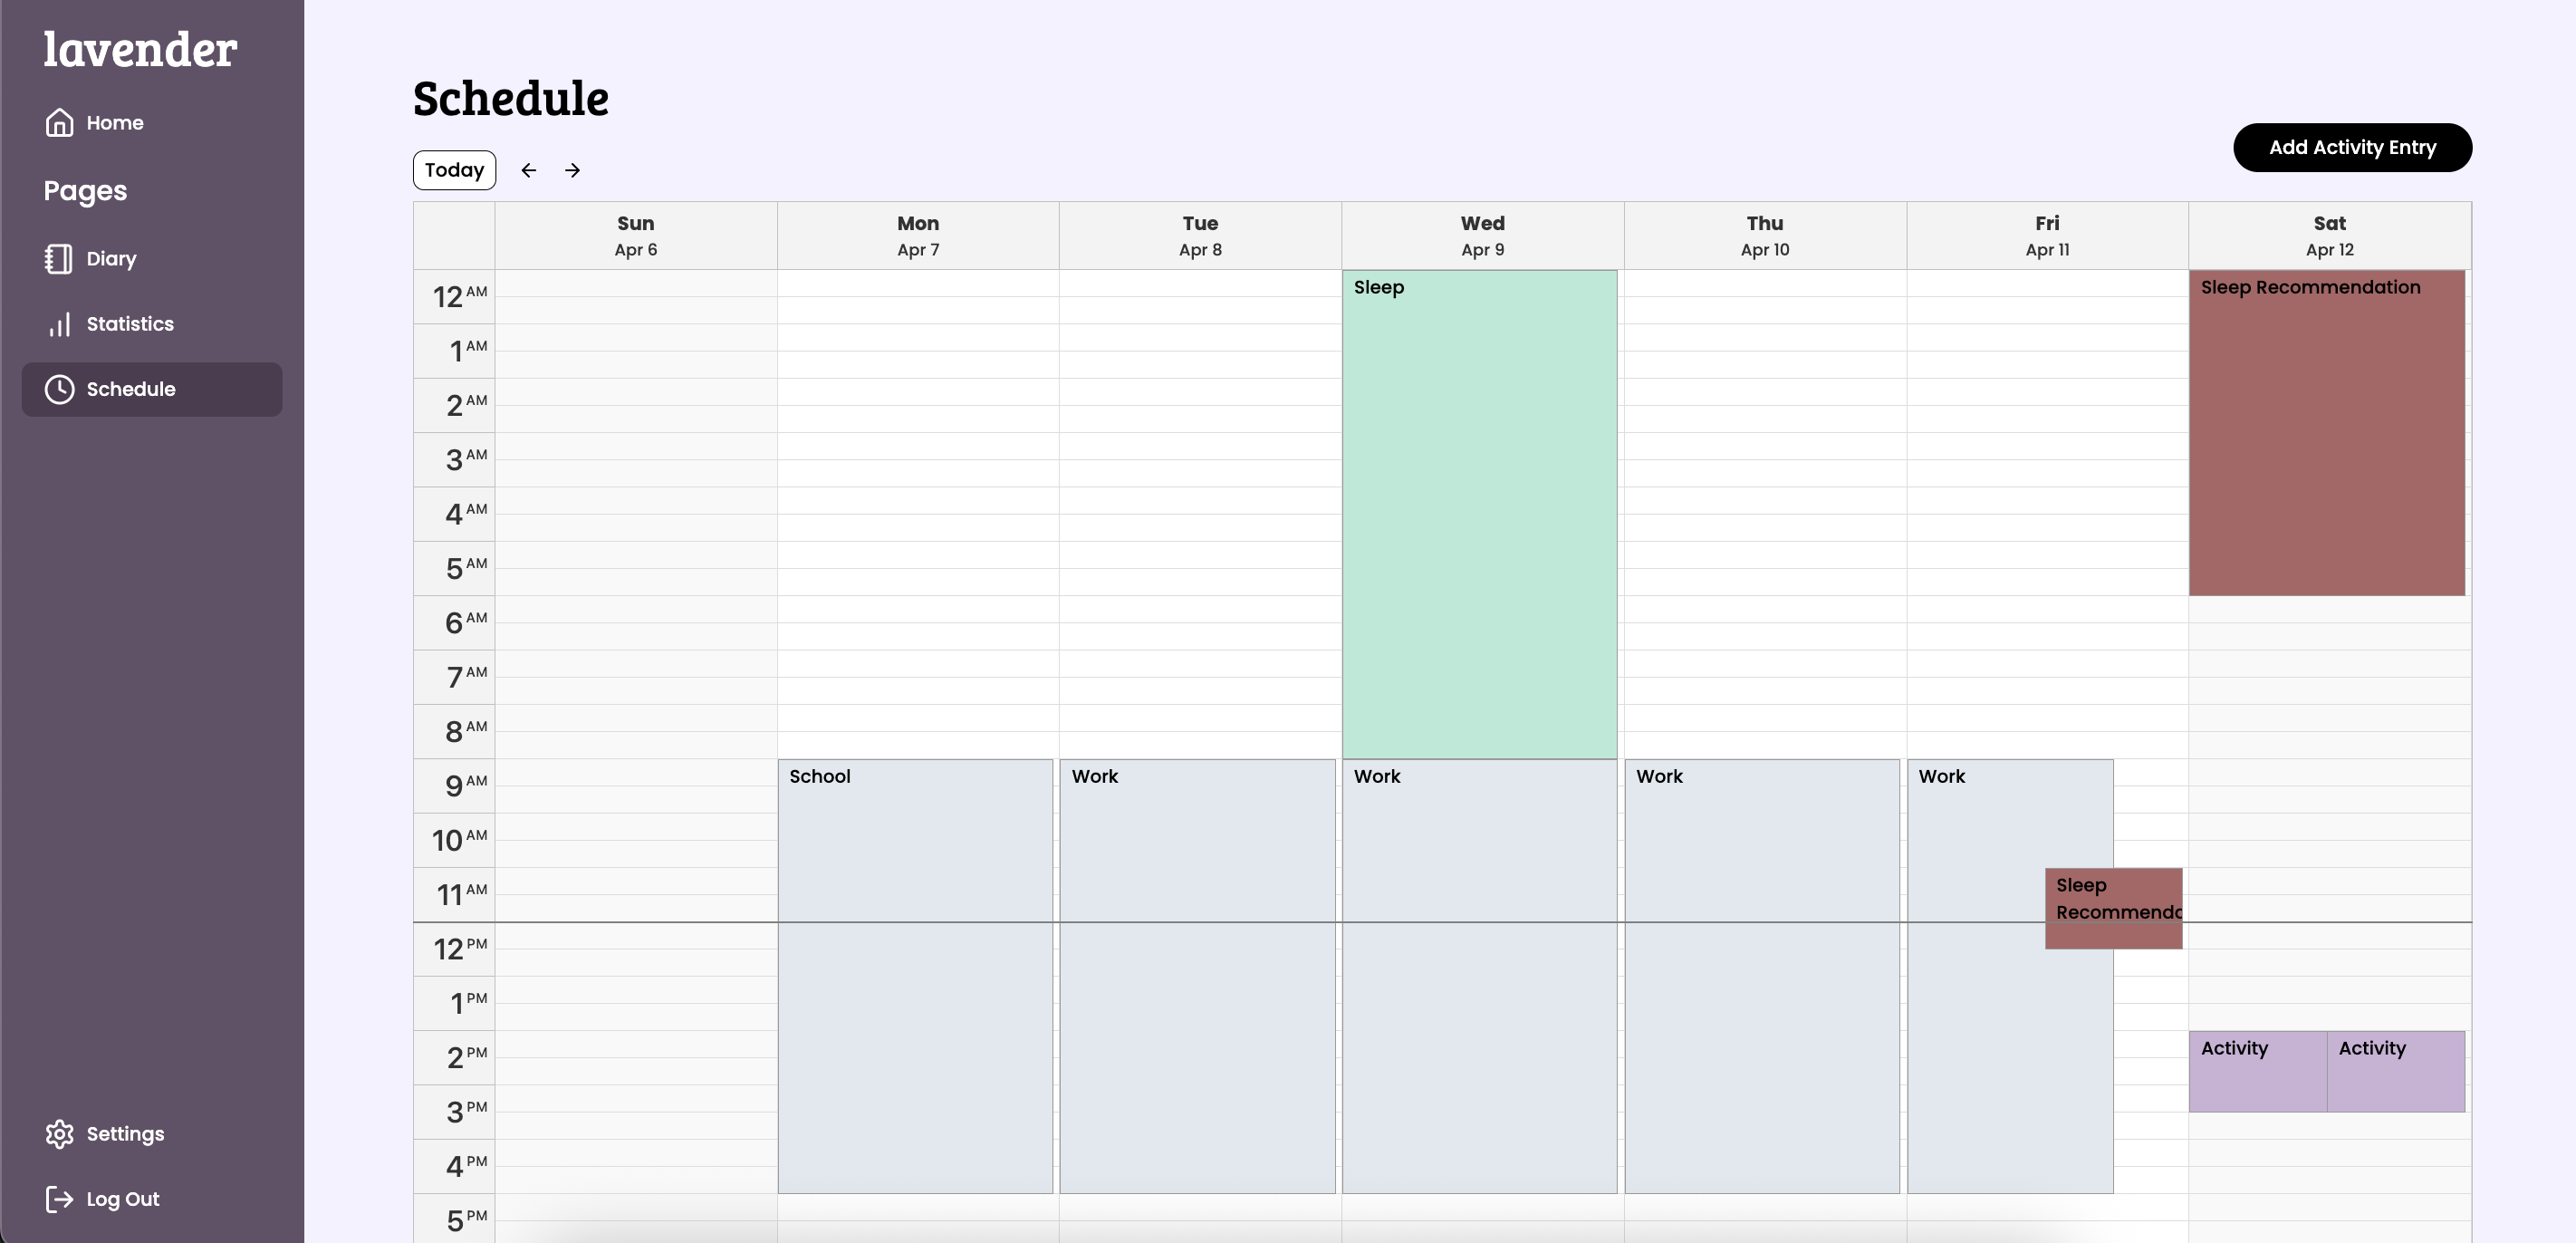
Use the arrow buttons in the upper left to navigate between weeks. New activity entries can also be added using the button in the upper right corner.
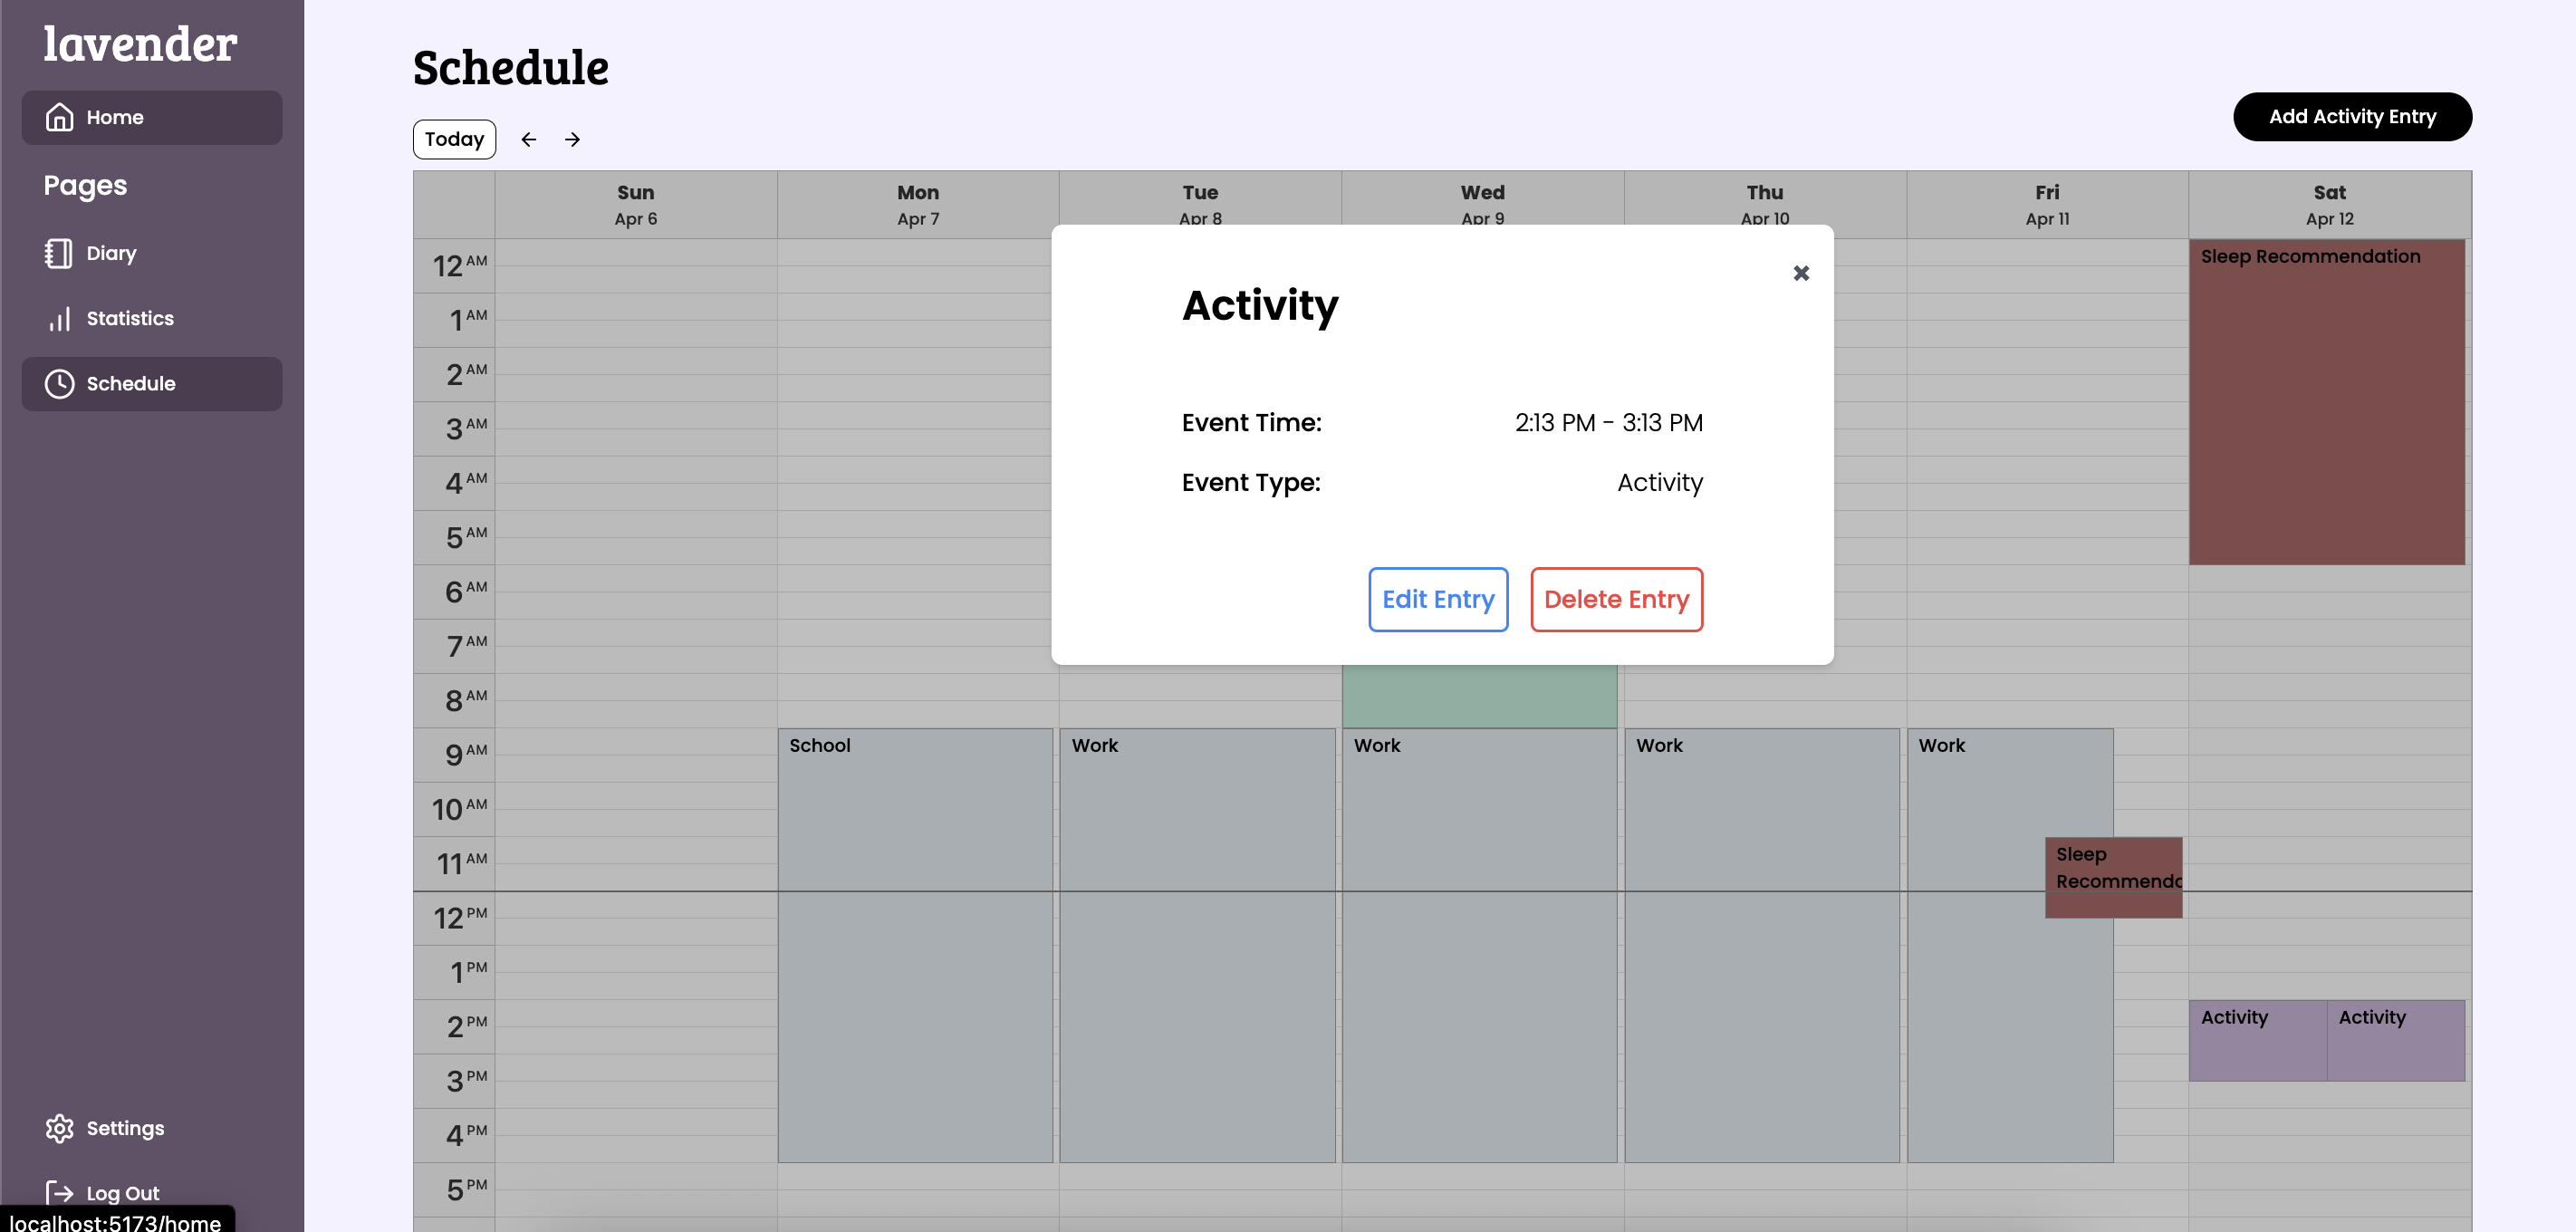
Select an activity or work entry to view details and edit or delete the entry.
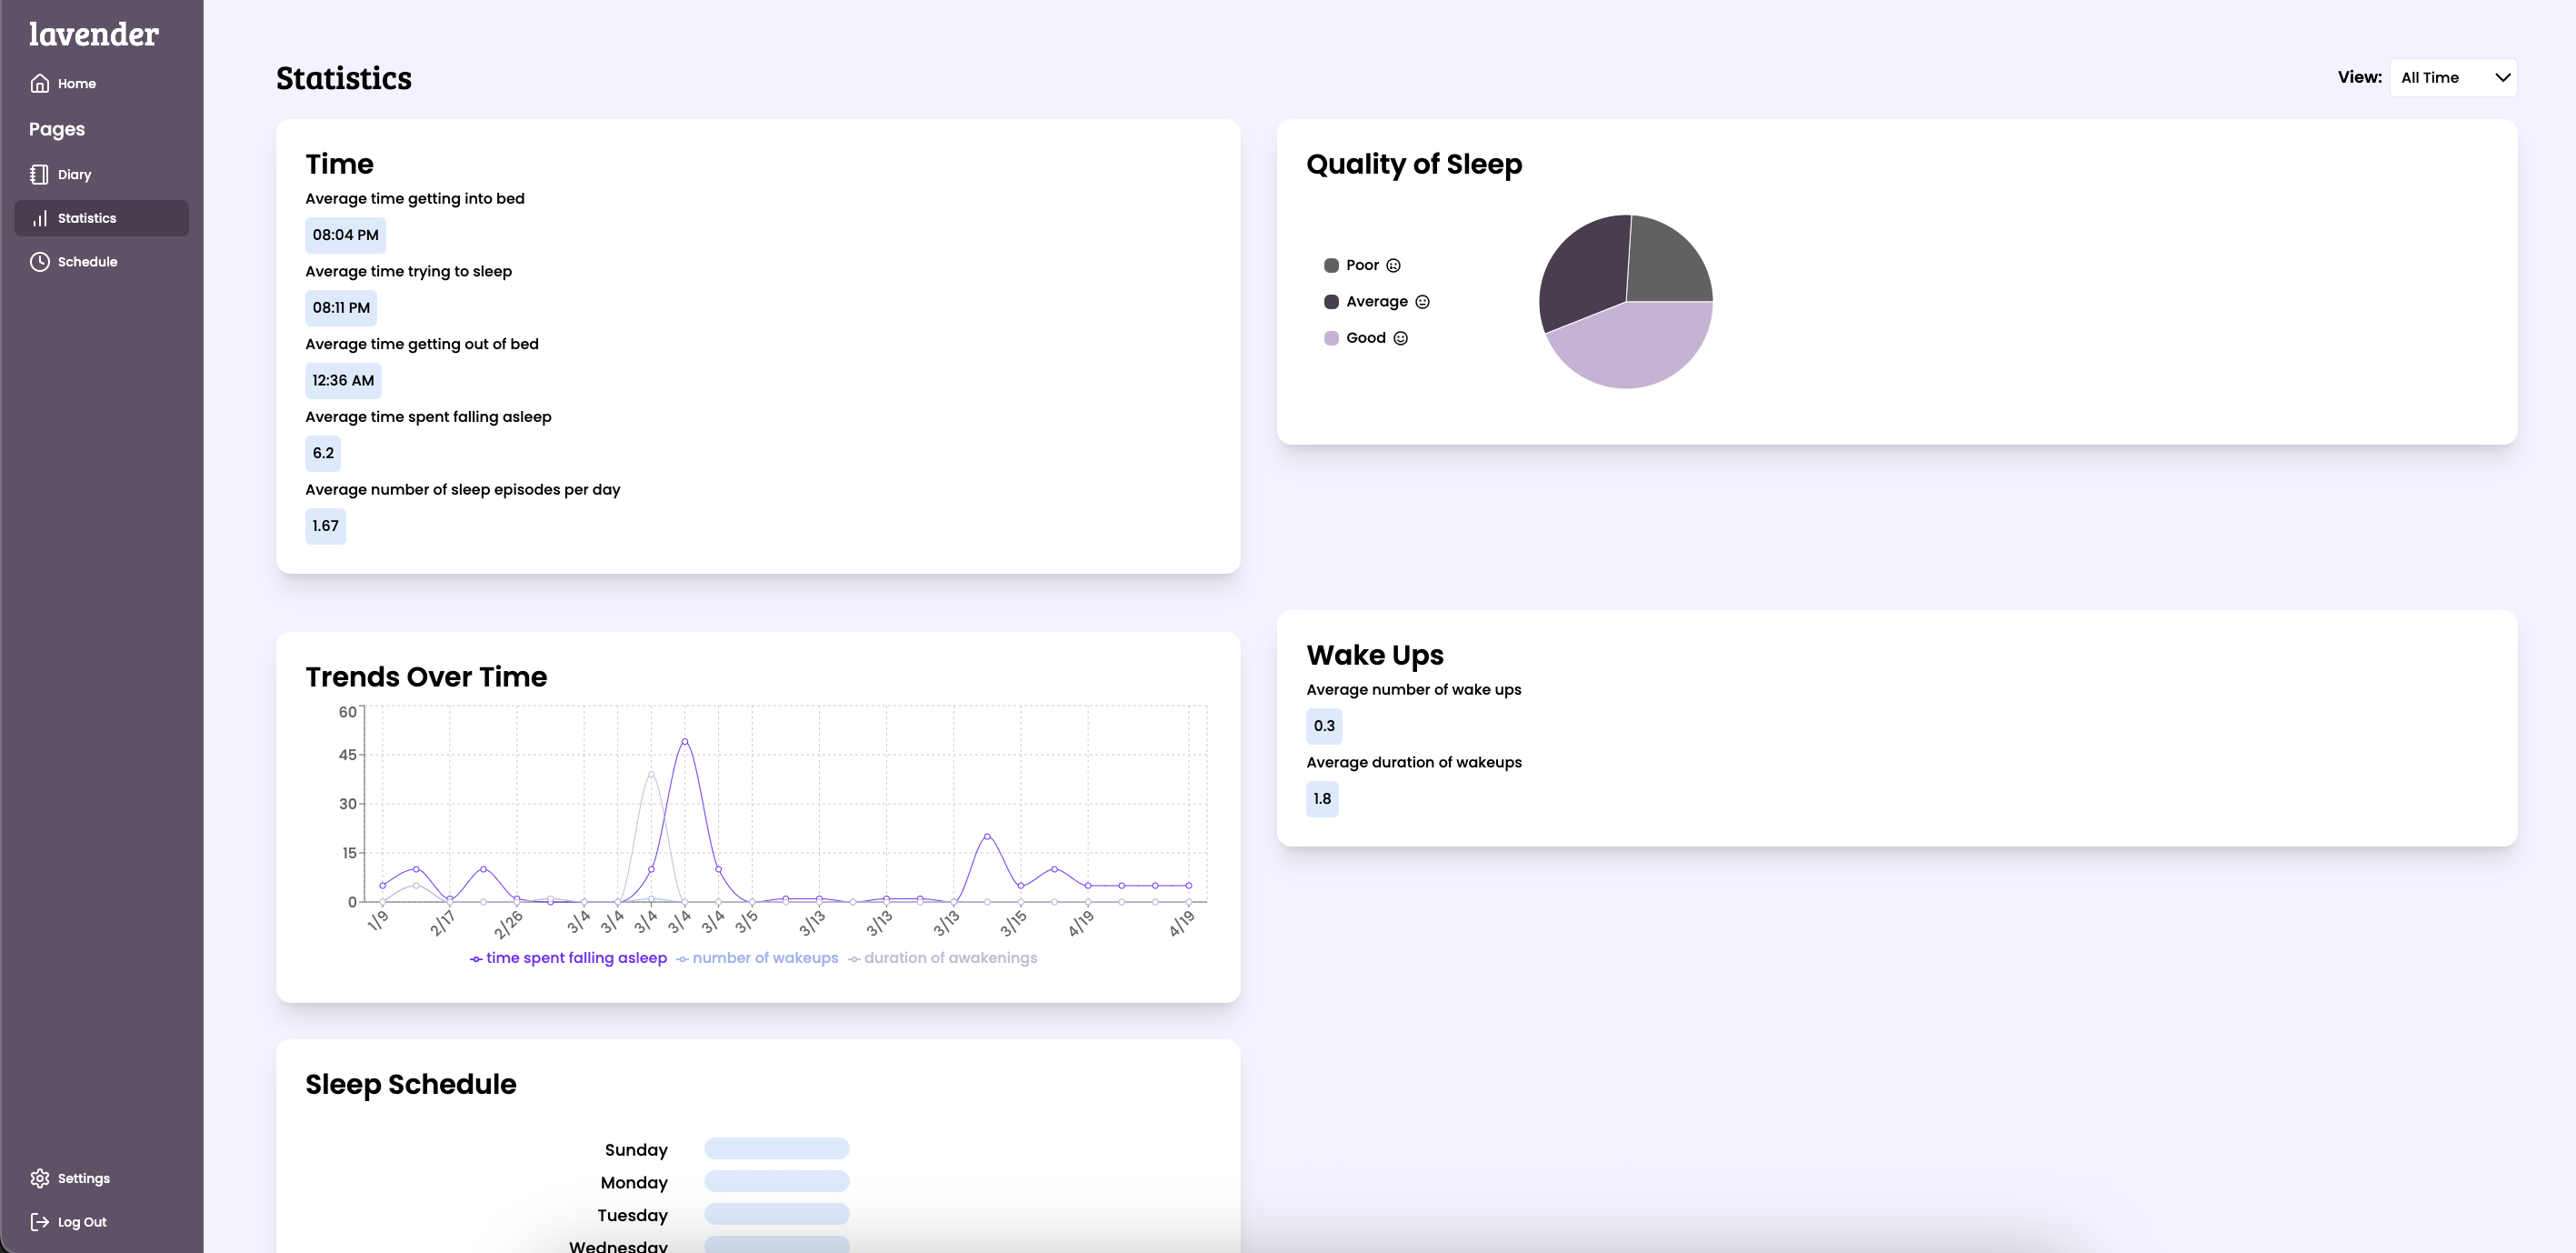
Viewing statistics
The Statistics page summarizes information about your sleep times and quality.
Use the dropdown in the upper right to choose the time range.
Resetting your password
Select “Settings” in the bottom of the sidebar to view information about your linked provider(s) and to reset your password.
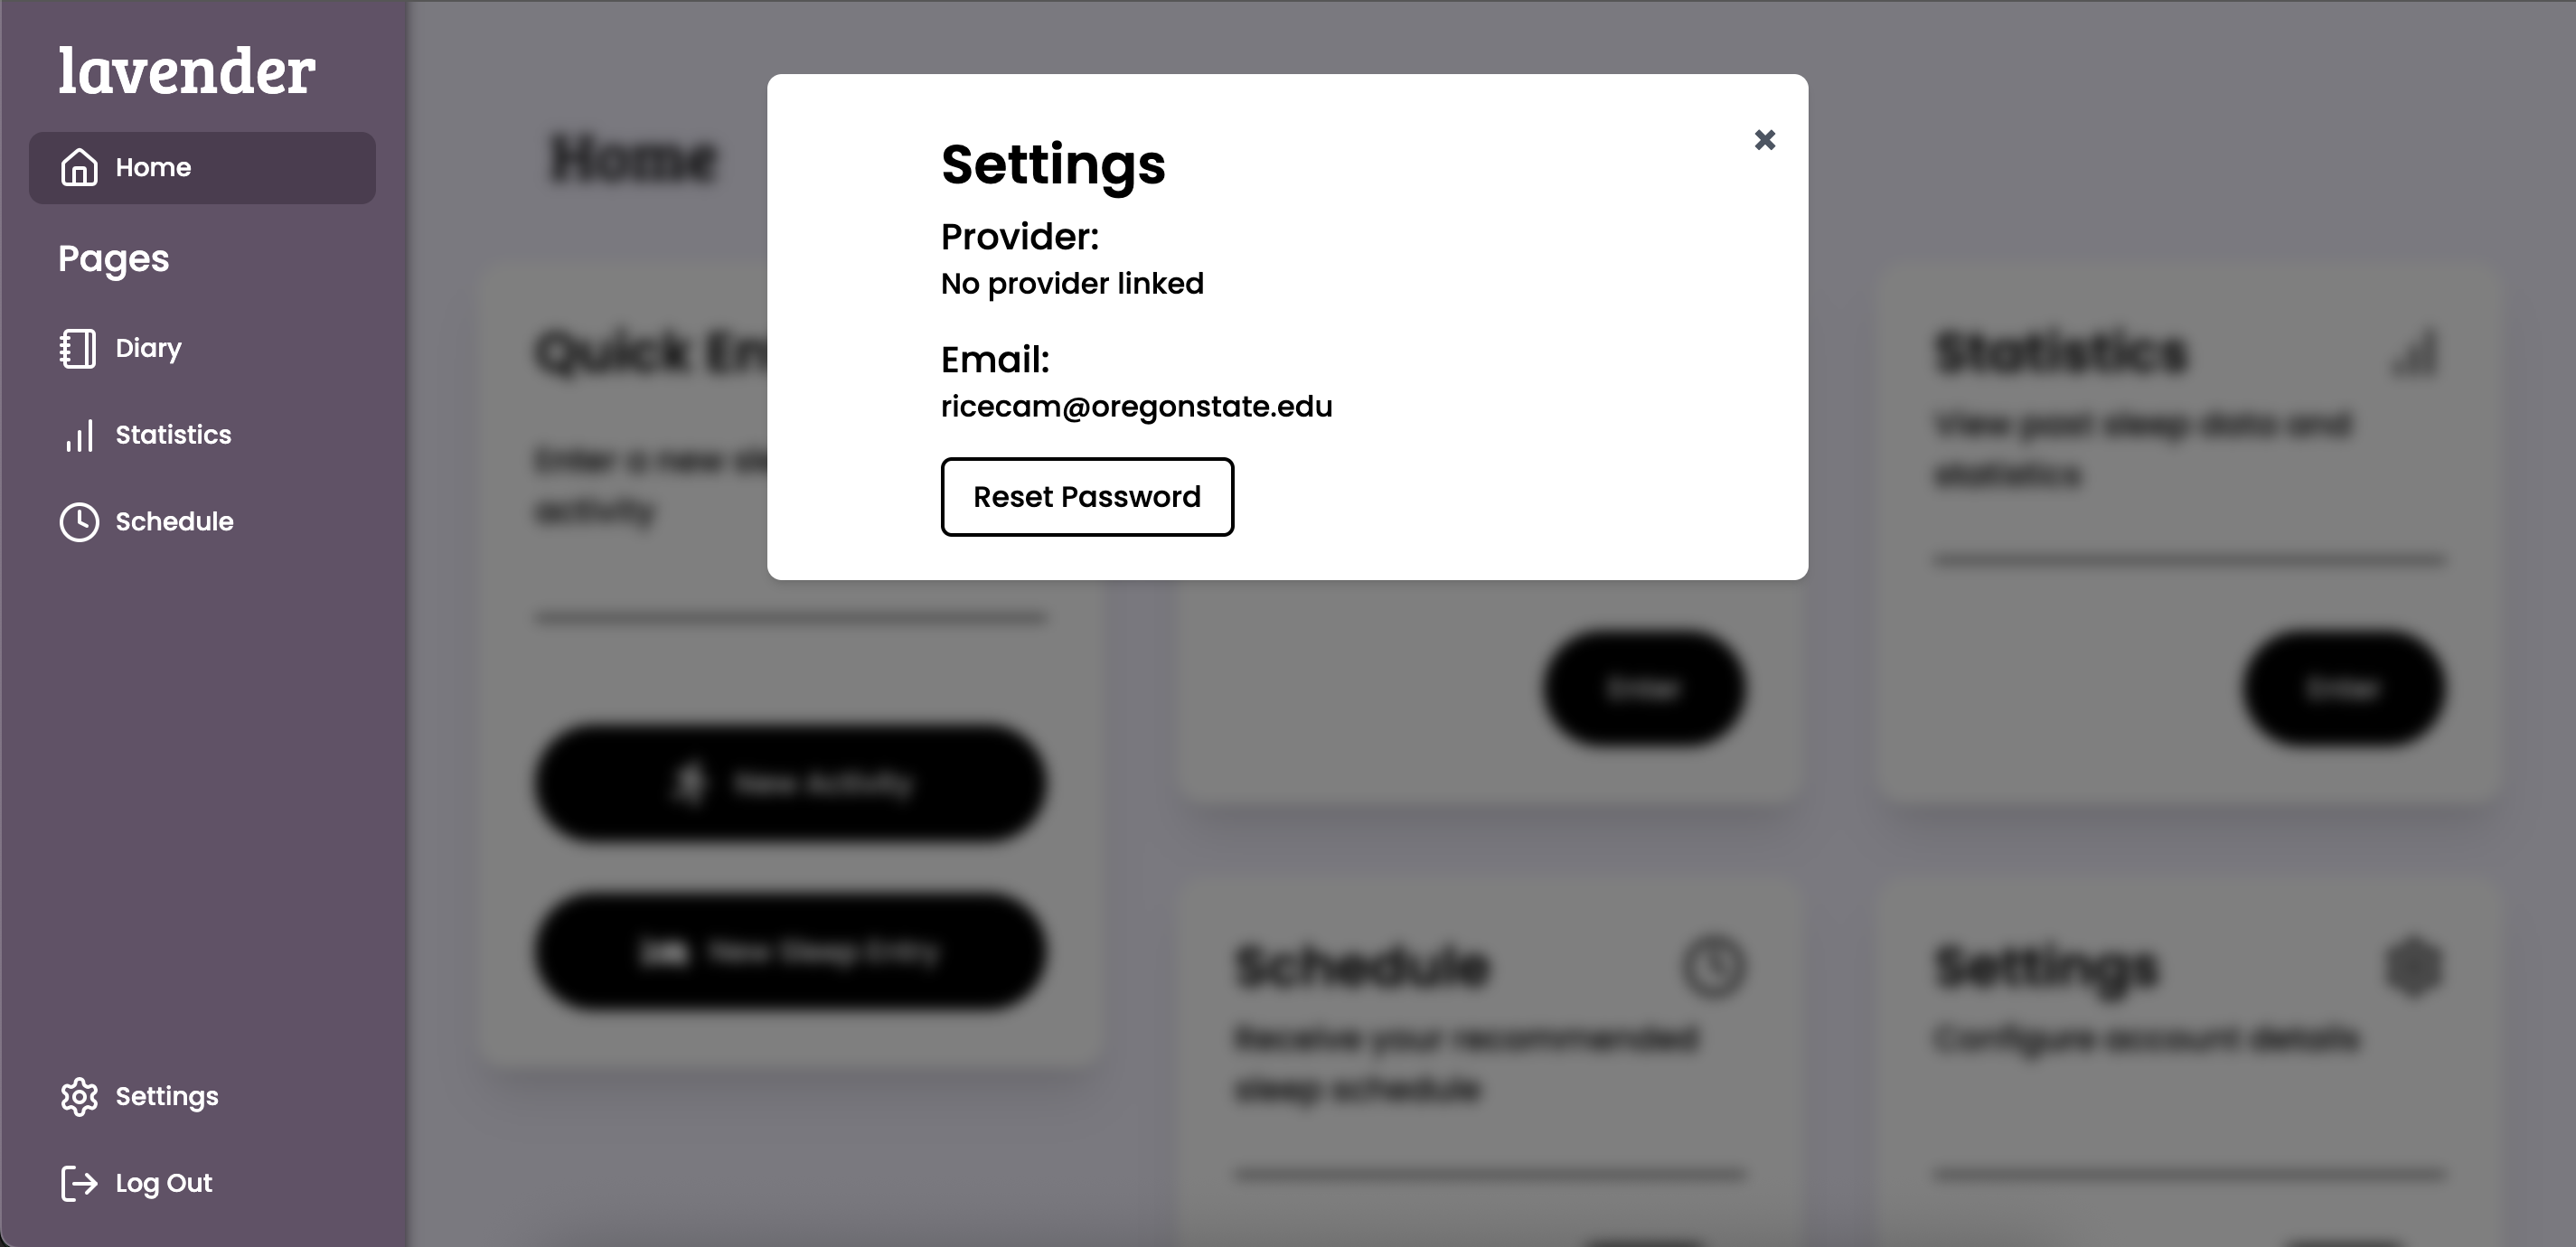
Pressing the “Reset Password” button will send a password reset email to the email listed. If you are no longer able to access that email address, talk to your provider and request that they create a new account for you. At this time, there is no way to import data into a new account, but your provider should still be able to export the data from your old account.